After a text to my in-guy at the local Acura Dealership about pricing info, I received a text back with the somewhat egregious price $130.00. Steep, yes, but justifiable I though, because along with the JDM 1-pieces looking hell fresh as well as in conjunction with the Alpha Touring “H” badged grill:
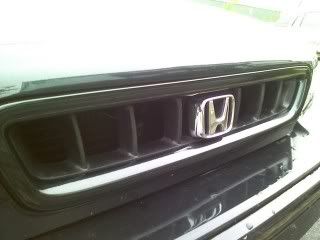
I just couldn’t take away from a clean OEM front end by installing anything less.
Could I ADD to my front end by installing anything more like the Mugen bumper however?
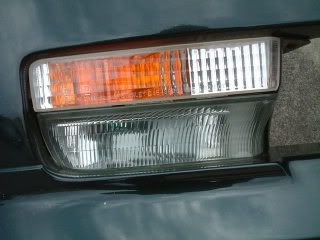
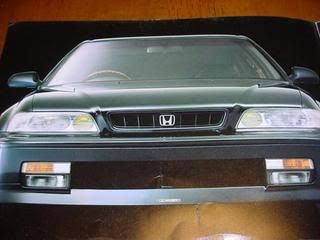
Yes, but until I come across another Mugen front bumper, I was going to have to settle for just new OEM turn signals.
Back to the story. Ok, so I told my guy “bet” and a week later he told me that they were in.
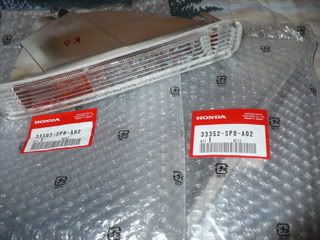
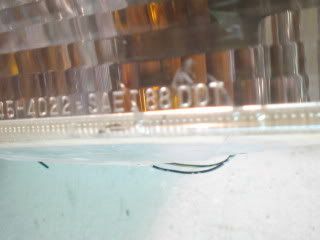
Brand spanking’ new in some bubble wrap. (Oh, and notice how the parts sticker says “Honda”. Because that’s what my car is; a Honda.) So that was about a month ago, and when I got them, I placed them on my “all-things-Project-Legend-that-have-not-yet-actually-been-installed” desk.
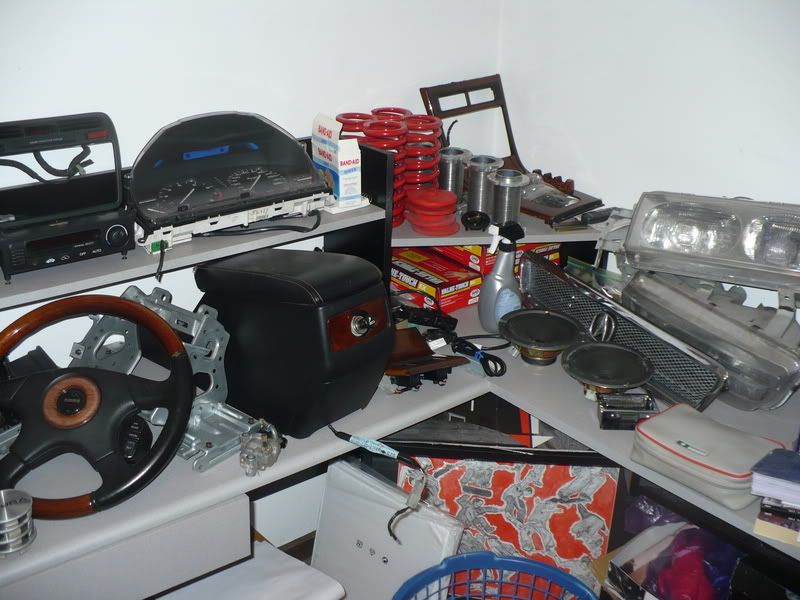
That is until last week, when I finally had some spare time and actually took advantage/initiative of that spare time to go about installing them. I toyed with the idea of taking out the amber interior lens before doing so, however.
How so you ask? Well, this is done by baking the lens assemblies themselves in an oven, there by melting the adhesive of the lens’s front portion and by doing so; allowing access to the interior portion of the lens. This is the separate amber plastic piece that covers the bulb and causes the actual amber luminescent color. Some people do this, and it looks good honestly, but after dwelling on it for awhile, I decided to leave it as is; OEM.
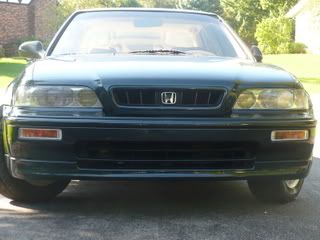
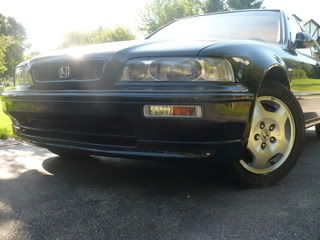
Well, they went in a little tough, but they are in and I’m pretty happy with the look.
No comments:
Post a Comment